Your Cart is Empty
Earn Free Shipping On Your First Order!
While customizing with Clement Design USA has gotten much easier over the years, we understand that there can still be questions when using our online tools to personalize your chef jackets.
In turn, we've created this step-by-step guide to help you with the process. While customization options are available for products like aprons, hats, and even pants, we are going to focus on adding customization to chef jackets in particular for this guide; utilizing a web browser. This should hopefully provide you with enough information to apply customization to additional product styles if needed.
If it is your first time purchasing one of our chef jackets, we recommend you follow our size chart to find your best fit.
Please note that customized jackets are final sale and cannot be returned after being embroidered.
After you've pressed or clicked on a jacket or style that piques your interest you'll find yourself on that particular item's product page.
On the product page, you are given options to select a size, customize, adjust the quantity, and add to cart. You're also provided with details about the jacket including materials, style, and pricing. For this guide, we are going to focus on the Select Size / Customize option.

After pressing the 'Select Size / Customize' button a prompt will open which will allow you to select the 'Color', 'Sleeve Type', and 'Size' of the chef jacket.
Use these dropdown boxes to preview different styles of the jacket you are interested in. Most of our jackets are available in black or white and long or short sleeves, although there are some outliers. If you see a jacket that is offered only with long sleeves and want us to make it short sleeve for you, just contact us!
For this guide we are going to select a white, long sleeve, medium-sized Firenze chef jacket; one of our most popular and the new industry standard in chef jackets today.

Proceeding your jacket style and size selection you'll see the red button in the bottom right side of the window labeled 'Start Customizing'.
By selecting this option you will be given a new set of prompts that will allow you to begin customization of the jacket. If you are happy with your selection and do not want to customize you can select 'Done'.
By selecting 'Done' you'll see the product page update with the color, sleeve style, and size of the jacket. You can adjust the quantity and add it to your cart from here.
You can make changes to the size, sleeve style, and color by selecting 'Select Size/Customize' again and hitting the jacket information at the top of the customizer.

If you wanted to customize your jacket you should be on the page pictured below. We'll refer to this as the 'Customizer Home'.
From here we will start with adding a 'Name/Title' to your jacket. Name/Title customization is very straightforward. You're prompted with options for the text you want to add to the jacket, and given options for font style and color of that text.
You'll want to start at the top and work your way down (if you want to add multiple lines of text).
For this example, we are going to use a fake chef and create a custom jacket utilizing not only a 'Name/Title' but also a 'Logo, Flag, and CYOU' customization.
To get started we are going to enter the name of our chef. Type the chef's name into the blank box under 'Front - First Line' and select the font type and color as well. You'll see the name generate on the jacket while adjusting these options.
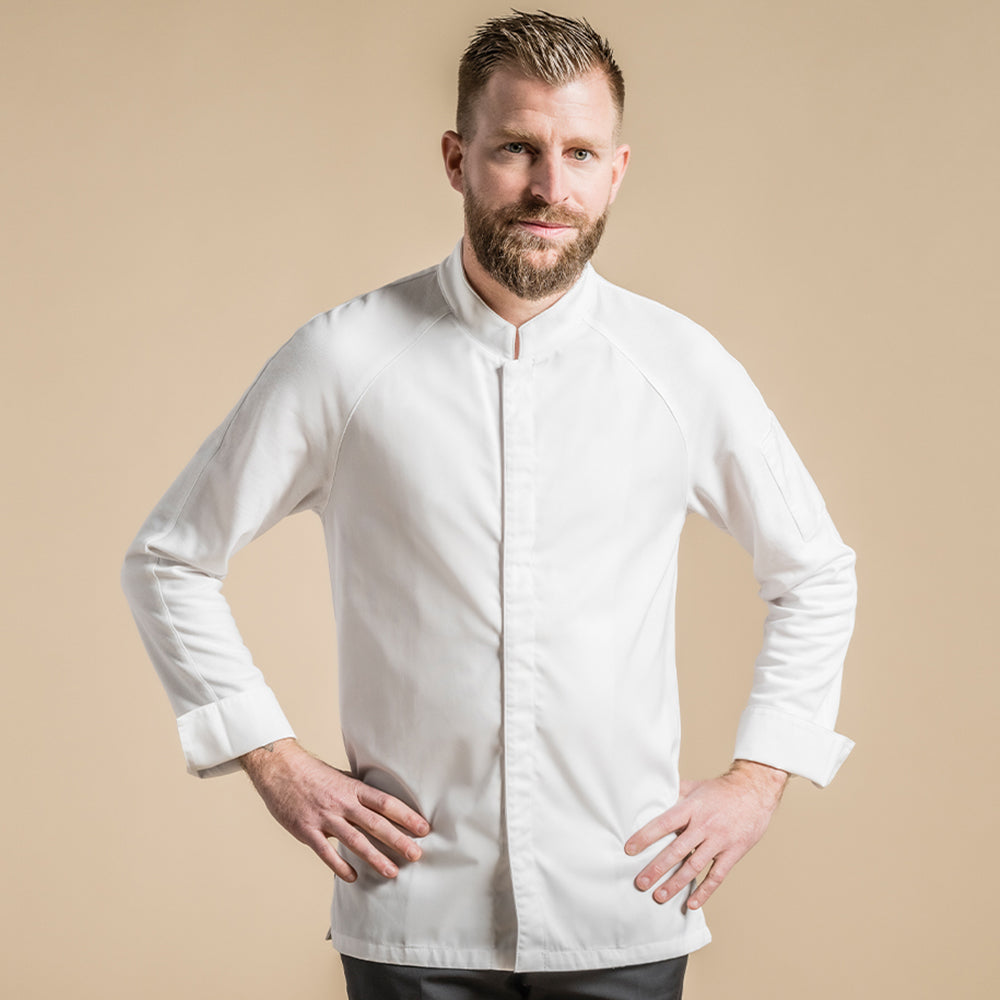
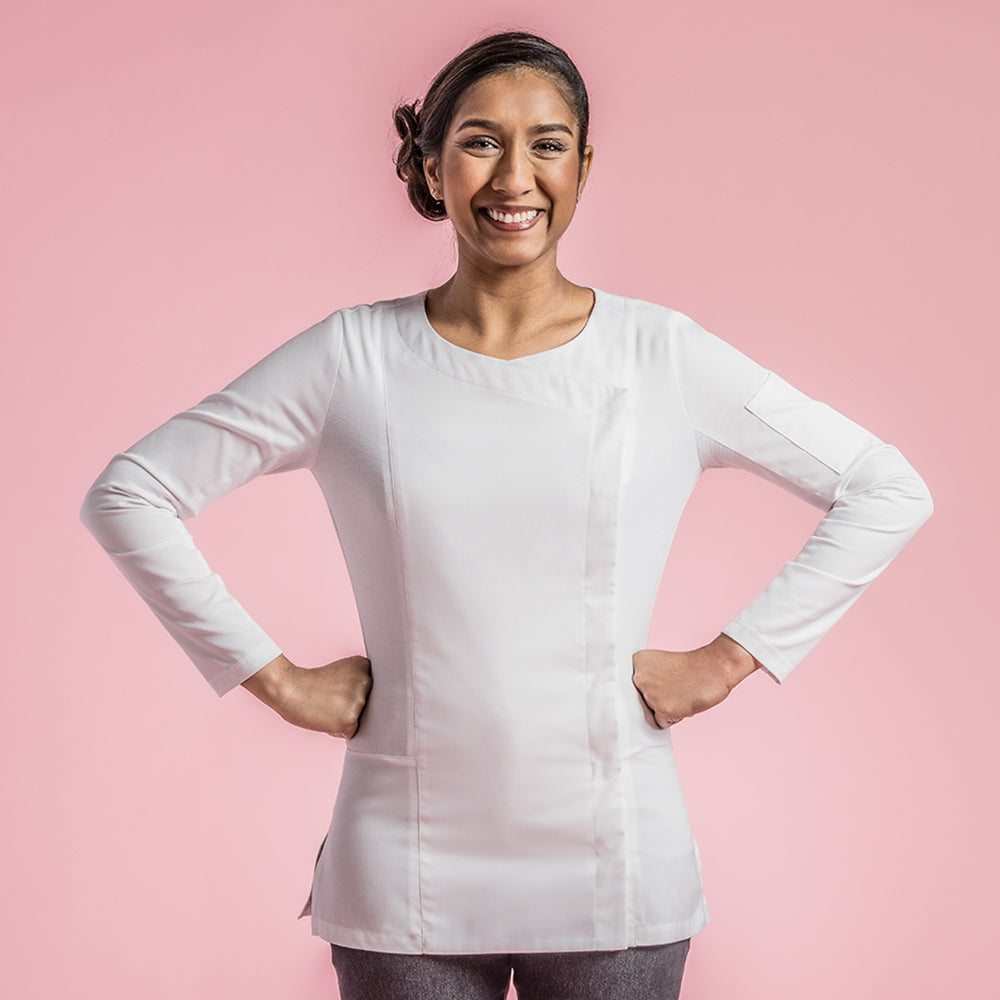
The placement of the embroidery on the jacket is somewhat standard and cannot be adjusted in the customizer. Male chef jackets are typically embroidered on the left chest, whereas female chef jackets are typically embroidered on the right chest.
If you'd like us to adjust embroidery placement you can enter custom notes by scrolling to the bottom of the name/title options. 
Now let's add a title under the name by entering the information under 'Front - Second Line'. By default, the previous font type entered will default but it can be adjusted! You will need to select the color you'd like to use here.
For this example, we are not going to enter any information on a third line, but it is available and we do see chefs enter credentials on this line, most commonly tied to the Culinary Institute of America and ACF exams.
Once you have finished adjusting the Name/Title you'd like on your jacket, double check all spelling and hit 'Save'. This will return you to the 'Customizer Home' and update your information on the Name/Title box. If you need to go back and make adjustments, just select the box! You can also hit 'clear' to omit any information you've entered previously and start from scratch.
Note: you will not be able to save your information on this page if you've left an option blank. For instance, if you haven't selected a font color, you will not be able to save your options. Items that need to be filled in will be highlighted with a red asterisk.

Adding a logo is a simple and straight-forward process as well. Lets get started by selecting the 'Add Logo' prompt under the 'Name/Title' we used in the previous step.

In the new prompt area you'll see a few options for your logo.
Clement Design offers affordable options for customization including a one-time logo setup fee of $75 and only $18 for logo embroidery per jacket.
If you've already customized a jacket with your logo you can enter the logo name in the 'Pre-Registered' box. Note: If you work for a large hotel, casino, restaurant, or bakery chain, we may have your logo on file already. If you want to double-check if we already have your logo in our system feel free to email, dm, or call us before placing your order.
If you know we have your logo on file already, enter the name of the logo in the 'Pre-Registered Logo Name' section. This will bypass the setup fee since we already have your logo digitized, and only charge the $18 for logo embroidery per logo, per jacket.
If this is your first time customizing a jacket, chances are we'll need to get your logo in our system
Under 'Upload New Logo' you can press the button 'choose file' and select the logo you'd like digitized on your computer.
Try to upload a high-quality logo file in a png format with a transparent background. You can upload a standard jpg, but you'll get a better representation of your logo on the jacket with a .png file utilizing a transparent background. You can search online for "Transparent PNG Converter" and utilize free websites like Adobe to quickly convert a jpg into a transparent png.
For this example, we have uploaded a .png of our logo.
The logo will always appear above the text in our customizer, we've found that this is close to industry standard. If you'd like your logo to appear any other way on the front of the jacket, you can leave additional information in the notes section.
For example: "Logo right chest, text left chest"
This is sufficient enough for us to interpret that the Name/Title should be embroidered on the left chest and the logo on the right.
If you'd like to upload a logo on a sleeve, select one of the jacket views below the main photo to move to either the left or the right side of the jacket. In addition, near the top of the customizer you see selections labeled 'Front, Right, Back, and Left' which you can also use to select the side you'd like to customize. After selecting one of these options you can add a logo to the shoulders or back of the jacket.

Select 'Save' to lock in your changes and proceed back to the customizer home.

You'll notice that 'Total Cost' has updated near the bottom of the customizer. This is giving you the total cost of your customization plus the price of the jacket.

Unfortunately, with the wide range of flags throughout the world, flags are not digitally generated on the jacket inside the customizer.
For flag embroidery, you can simply type in the name of the country or state flag you'd like; selecting the location by using the dropdown arrow.
If you'd like a flag on the cuff of the jacket you can do so by selecting 'Other Location' and typing where you'd like the flag in the 'Additional Notes' section.
Select save to lock in your flag adjustments.

Customize your chef jacket further by adding colored piping along various edges and seams of your chef jacket. Pairing CYOU with text and logos adds a beautiful touch of personalization that can truly elevate your jackets, and allows you to further represent your brand in a creative way.
CYOU is just as simple as adding a logo. Select 'CYOU Customization' and then 'Select Color' when prompted. We offer 25 different colors for CYOU which we can pair with matching embroidery threads.
Select the CYOU color you'd like to add to your jacket to generate a preview of your customization so far.
After selecting the CYOU color you'll want to select 'Save' to lock in your changes. 
To finish customization and close the customizer you can select 'Done'.
You can adjust the quantity and add to cart, if you need to make any changes you can select 'Edit' to re-open the customizer.
After adding your items to the cart you'll note that the jacket doesn't show the customization you saw on the product page; it is still there you just don't get a visual representation on the product page. If you select 'View All Customizations' you can preview the options you selected when creating your jacket.
From the cart page, you can select 'Edit Customization' to go back to the product page to make any changes necessary.
We highly recommend you review your customization before proceeding to checkout. We will always send embroidery proofs but want to guarantee that everything looks, and is spelled correctly.
On the checkout screen, you'll see all customization options detailing location, and what item it's for.
If you made it this far, thank you for taking the time to understand our customizer. We hope this guide helped and, of course, cannot leave you without a little discount. Use code EMBHALF23 to take 50% off any logo digitization or setup fee!
If you have any questions at all about customization don't hesitate to give us a call. You can reach our customer service team at 636.278.1952 or by email at cs@clementdesignusa.com
Cheers!